You won’t have to do anything to help your plants flourish if you make the soil healthy. Organic gardeners say, “Feed the soil, and let the soil feed the plants.” This procedure isn’t hard or time-consuming; you just have to keep doing it all through the growing season. You start by learning how to make soil healthy, and then you work on making what you have better. Here’s how to check your soil, read the results, and make improvements that will stay for a long time.
The secret to a great garden soil is just under your feet.
What Makes Soil Healthy
Knowing what the soil is made of will help you understand what you’re working with and where modifications will have the biggest impact. About 40 to 45 percent of the volume of soil is made up of sand, silt, and clay.
Plants need sand and silt to hold them up, but they don’t hold on to a lot of water or nutrients that plants can absorb. Clay is thick and heavy when it’s wet, yet it holds onto water and nutrients so that plant roots can use them. Roots can stay too damp in soil that has a lot of clay in it, and they might even die if they don’t get enough oxygen.
Loam is the ideal type of soil for a garden since it has a good mix of all three sorts of particles. Loam is the best form of soil for most garden plants since it drains well yet still keeps enough water and nutrients for plants to grow gradually.
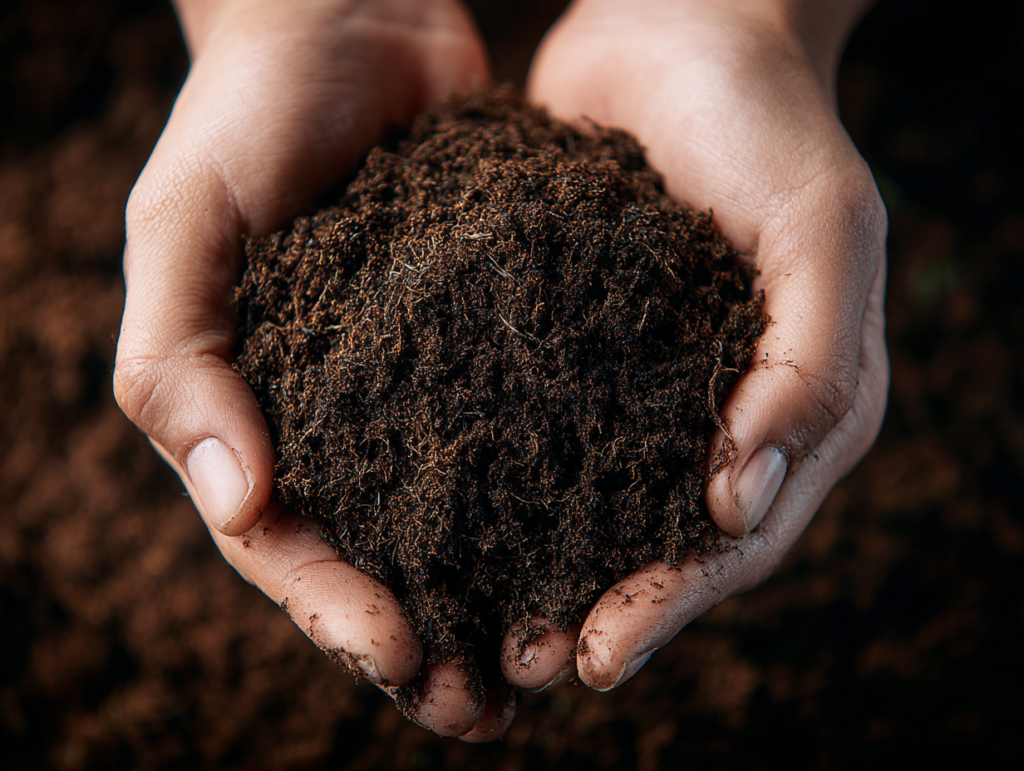
There are spaces between the particles in the soil that help air and water reach to the roots of plants. Roots will perish if these spaces aren’t there. Healthy soil has between 5 and 10 percent organic matter. Most of it comes from the leftovers of plants that have broken down. This rotting stuff is food for a lot of other living creatures, like beetles, earthworms, and even microscopic fungi and bacteria.
A teaspoon of healthy soil has all the living things that make up the soil food web. They change organic materials into nutrients that plants require, form holes in the soil, stop plants from getting sick, and help keep carbon from escaping into the air. By adding organic matter to this soil food web, you’re giving your plants the nutrients they need in the form they’ve evolved to consume.
The pH scale, which ranges from 1 to 14, tells you how acidic or alkaline the soil is by looking at the minerals it possesses. It is acidic if the reading is less than 7.0 and alkaline if it is more than 7.0. This pH level changes the kinds of nutrients that plants can take up from the soil, even if those nutrients are there. Most plants in the garden grow best in soil that is somewhat acidic, with a pH level between 6.2 and 7.0. On the other hand, soil that is overly acidic or too alkaline makes it tougher for plants to grow.
What Makes Soil Unbalanced
Soil can go bad in a multitude of ways. When building new homes, construction workers generally level the ground by moving or taking away the top 6 to 8 inches of dirt. Most of the organic stuff and beneficial microbes live here. Most garden soils are either clay or sand, which isn’t the best balance for loamy soil unless they are in naturally productive farming areas.
Over time, people walking on the ground and using items like lawn mowers compress the soil, which makes the pore spaces that are so vital smaller. This compaction makes it hard for plant roots to spread out and absorb water and nutrients. Some minerals that plants need get chemically locked up in forms that plants can’t reach when the soil’s pH is too high or too low. This is true even though the minerals are physically present in the soil.
If you plant the same crops in the same spots every year, the organic matter and nutrients in those spots will run out. If you don’t replace what plants take up, the soil will become less productive over time.
Looking at Your Garden Soil
Before you can improve your soil, you need to know what you’re working with. You can start by doing a simple drainage test on your own. Use a shovel or post-hole digger to make a hole that is at least 12 inches deep and 4 to 12 inches wide. Put water in it and let it drain all the way. As soon as the water drains the first time, fill the hole again. Find out how deep the water is by using a ruler. After 15 minutes, check the water level again to see how much it has dropped. To find out how much water drains each hour, multiply that number by four.
Most plants thrive best on soil that drains between 1 and 3 inches per hour. If the water doesn’t drain at least an inch per hour, the roots can grow overly wet. It’s too sandy if the soil drains more than 4 inches an hour. Plants can’t obtain enough water before it runs off.
If you want to know the pH and nutrient levels, you need to test the soil. Home test kits make this simple. The Deluxe Garden Soil Testing Kit lets you test for nitrogen, phosphorous, and potassium 15 times, and for pH 30 times. You don’t need batteries for an electronic soil tester, which gives you quick readings on pH and fertility all season long.
You can get cheap testing from your state’s cooperative extension agency for a more in-depth look, or you can engage a private lab. The quality of your soil sample will always decide how useful your results are.
This is how to get a sample that actually demonstrates what your garden is like. After cleaning up any trash or plants that are on the surface of a small area, use a stainless steel trowel to cut a core or a soil probe to dig a hole. In areas that are farmed, cut a 6-inch-deep piece of dirt from the side of the pit. Do this in six to eight different areas of your garden.
Do not touch the sample with your naked hands or use tools made of mild steel, galvanized steel, or brass. Some minerals are so tiny that bits of these metals or your skin can change the test results. Mix all the samples together in a clean plastic or stainless steel container. After that, put the mixed sample in a container or bag made of plastic for testing. Make careful to mention on any forms that you want ideas for organic soil amendments.
Making Changes That Matter
The results of the test tell you what you need to improve and how to achieve it. If your phosphorus levels are low, bone meal is a simple organic way to raise them. Phosphorus is particularly crucial for root growth early in the season and for blooming and fruiting later on. Plants need calcium to build new cells and do other critical tasks. Bone meal includes calcium in it.
Plants need a steady supply of nitrogen to grow their stems and leaves. Blood meal is a natural supply of nitrogen that helps plants develop and feeds the soil food web at the same time. Plants get nutrients from synthetic fertilizers, but they don’t help the soil’s health.
If the soil is too acidic, garden lime brings the pH back to the optimum level, which is between 6.0 and 6.5. This adjustment makes nutrients that weren’t chemically available at lower pH levels available for plant roots to use.
These days, a lot of organic gardeners add biochar to their soil. This trash from burning wood and plant debris in forests that are kept in a way that is healthy for the environment helps soil hold onto water and gets the good bacteria that plants need to grow going. It’s merely charcoal that has been changed so that it may be used in dirt. It stays in the soil for years and improves it by making it more fertile and changing its structure.
The Power of Compost
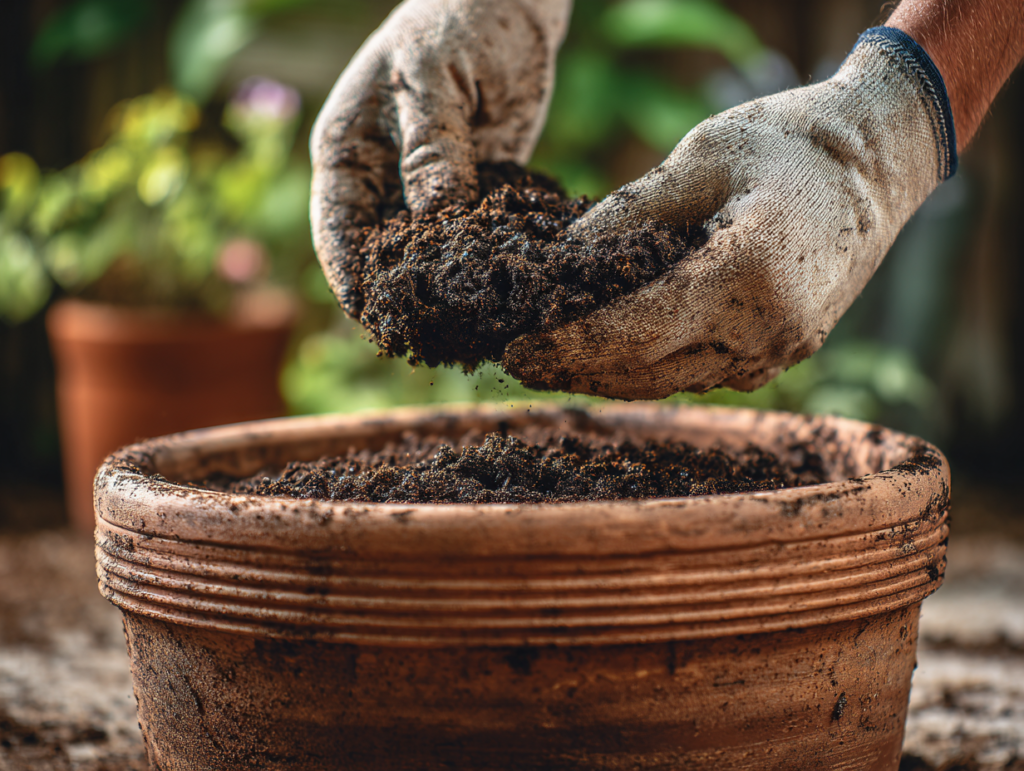
Adding organic compost to your garden soil is the best thing you can do. It cures a lot of soil problems at once by holding onto and slowly releasing moisture, giving plants nutrients in forms they can easily use, feeding the complete soil food web, and bringing pH levels closer to where they should be. Adding compost to clay soil makes it less dense, whereas adding it to sandy soil helps it hold water and nutrients. Every spring, add about half an inch of compost to the top of your garden soil. This will help your plants grow well from the outset.
You may make your own compost from of waste from your kitchen and yard. The Aerobin 400 is a terrific compost bin that transforms these everyday things into compost that helps your plants grow. You merely need to add materials and check the moisture levels every now and then.
The Ruth Stout Way
The Ruth Stout approach can be for you if you don’t like turning compost piles or tilling soil. This method, which is also known as “mulching in place,” is named after a horticultural writer who made no-till gardening popular many years ago. You place straw, leaves, garden trash, and other natural materials around your veggies and let them break down where they land. As these items break down, they feed the soil food web below them.
This strategy works very well in vegetable gardens and along the boundaries of natural shrubs. You don’t have to bag up your wastes, mix your compost piles, till the soil, or pull as many weeds because the heavy layer of mulch keeps them from developing. Plants don’t need to be watered as often since the mulch keeps the soil moist. Earthworms like these circumstances because they make the soil more airy and nourish it with their castings. You don’t want such problems to spread to other plants in your garden, so don’t use plants that are sick or have pests.
Improving Soil Over Time
You can’t just fix the soil once; you have to constantly working on it. You make progress every time you add compost, adjust something based on test results, or feed the soil food web in the spring. The spaces between the microorganisms get greater, and the process of transporting nutrients around gets better. Plants grown in this soil, which is getting better all the time, can withstand stress, pests, and diseases better.
Start small if this is your first time doing something. Put compost in one bed and see how the plants respond. It’s easy to use what you’ve learned in the rest of the garden once you see how much better healthy soil makes things. You now know how to check the condition of your soil and make modifications that will really help. The labor you undertake to make the soil healthy pays off every planting season.