If you want to grow potatoes that are juicy and flavorful, the process is surprisingly simple.
A freshly dug crop of homegrown spuds will be the most flavorful potatoes you’ve ever eaten. They’ll even be a little juicy when you slice into them. Raising a crop of potatoes in your garden is easy and the process can be fun. All you need is a small bed or a large grow bag, healthy soil, disease-free seed potatoes, and a little patience. Here’s how and when to plant potatoes.
What You Need to Grow Potatoes
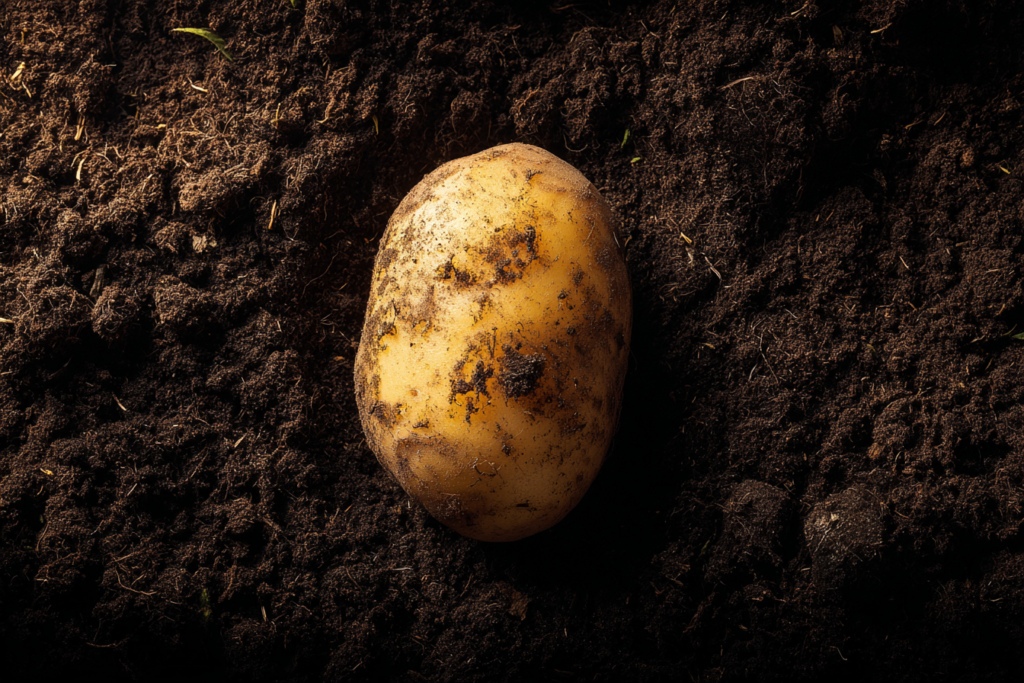
Seed Potatoes: The traditional way to start a potato crop is to use chunks of the prior season’s potatoes as seed. But many gardeners are discovering that the most reliable way is to plant mini tubers, which are whole spuds about the size of a quarter. Each mini tuber yields up to 10 potatoes (or about 5 pounds).
One of the most reliable ways to grow potatoes is by using mini tubers rather than store-bought scraps.
Potatoes are susceptible to soil-borne diseases that can ruin your crop, including several viruses and blights. These pathogens can be carried from one season to the next on seed potatoes. The most reliable protection is to buy disease-free potatoes. Mini tubers, the small remainders after the edible crop is harvested, make ideal disease-free seed potatoes.
For more on identifying issues, see this guide on common potato diseases from the University Extension.
Sunlight Requirements: Site your potato patch or containers where the plants get full sun during the growing season. You may get leafy growth in partial shade, but your harvest will be light.
You cannot grow potatoes effectively in the shade; they require at least 6 hours of full sun.
Soil Requirements: Potatoes grow underground, so they need loose, well-drained soil. Where the ground is rocky or heavy clay, you can build up raised beds by amending the soil with lots of organic matter. Or you can grow potatoes in containers. To help reduce the risk of soil-borne diseases, try not to plant potatoes in the same spot year after year and, whenever possible, avoid places where you’ve grown related crops, such as tomatoes, peppers, and eggplant, because they can fall victim to similar viruses and other pathogens.
Learn more in our guide on improving soil with homemade compost.
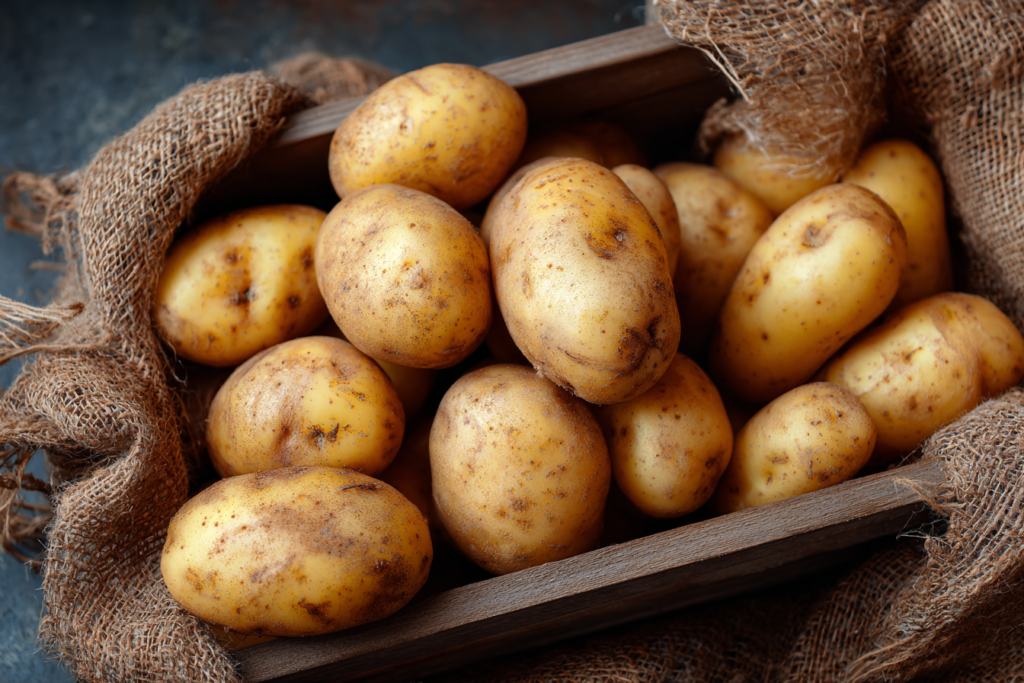
Space Considerations: The spuds need room to bulk up below the soil surface, so you want to leave about a foot between each plant. If you don’t have much space, you can plant potatoes in a fabric grow bag or even a burlap sack. You can harvest pounds of them even from just a 5-gallon bag.
To grow potatoes with enough room to bulk up, leave about a foot between each plant.
When to Plant Potatoes
Deciding when to plant potatoes will ultimately depend on your climate and garden growing zone. Potatoes are a cool season crop with a lengthy growing period, so the best time to plant is typically before the last spring frost in cooler climates. For milder growing zones, potatoes often do better as fall crops to avoid high summer temperatures.
Planting and Care
A key part of learning how to grow potatoes is mastering the hilling process.
Potatoes are a relatively easy crop to plant and care for. The key to a successful harvest is understanding how deep to plant potatoes and maintaining that depth as they grow. Before you plant your tubers in the garden bed, you’ll need to prep the soil. First, remove any rocks or sticks that will get in the way of proper development.
Once the soil is ready, dig trenches in the bed about 4 to 5 inches deep and 6 to 8 inches wide. If you’re planting multiple rows, each trench should be about 2 feet apart. Place whole tubers or seed potatoes at the bottom of the trench about 12 inches apart. Gently cover the tubers with 2 inches of soil and leave the rest of the soil mound to the side.
When the plants emerge and reach about 5 inches in height, it’s time to start the hilling process. Hilling will help ensure that you have a healthy potato crop, as the roots will stay deep and prevent the potatoes from growing too close to the surface. Pulling from the dirt mound on the side, add more soil around the stem of the plant until you’ve nearly covered it, leaving about 2 inches of foliage. Repeat this process every two weeks as the plant continues to grow. Cover any potatoes you may see to prevent them from turning green.
Water your plants regularly, keeping the soil moist but not saturated. Try to avoid disturbing the top layer of dirt when you water. Keep an eye out for and treat any pests, diseases or weeds.
If you’re planting potatoes in a container, the hilling process will be similar in that you’ll need to continuously add more soil on top of the plant at regular intervals as it grows. Start with about 6 inches of soil in the bottom of the container when you plant the seed potatoes so you have room to add soil on top as you go. Container-grown potatoes will require more frequent watering as they’ll dry out faster.
Container Growing
You can even grow potatoes in a small burlap sack if you have limited garden space.
Initial Planting: The process for planting in containers skips the hard work of digging trenches. Simply fill the bottom 6 inches of your bag, pot, or other container with a mix of potting soil and compost (homemade or bagged). Set your seed potatoes on the soil. The tubers can be closer together than they would be in a garden bed. Cover the seed potatoes with another 4 inches of the soil mix. Keep the soil moist, but not soaking wet. Check daily, because the soil mix in containers dries out quickly on sunny or windy spring days, and dampen it as needed.
Hilling Process: When you see the new shoots emerging in the containers, add more of the soil mix and continue as the plants grow. When the container is a couple inches from full, you can stop adding the soil.
Care and Maintenance: Potatoes growing in bags or other containers typically need to be watered more often than underground spuds. Check daily during dry spells. To find out if your plants need water, push your index finger all the way into the soil. If you don’t feel any moisture, it’s time to water again.
Harvesting Potatoes
Now comes the fun part—digging up your crop of fresh potatoes. But if you can’t see them, how can you tell when they’re ready?
Most varieties take about 10 weeks from planting to harvest. When the vines reach maturity, you will see little white flowers blooming among the leaves. At that time, you can dig up the tender little new potatoes. Eat them within a few days as their skin is thin and not suited to storage.
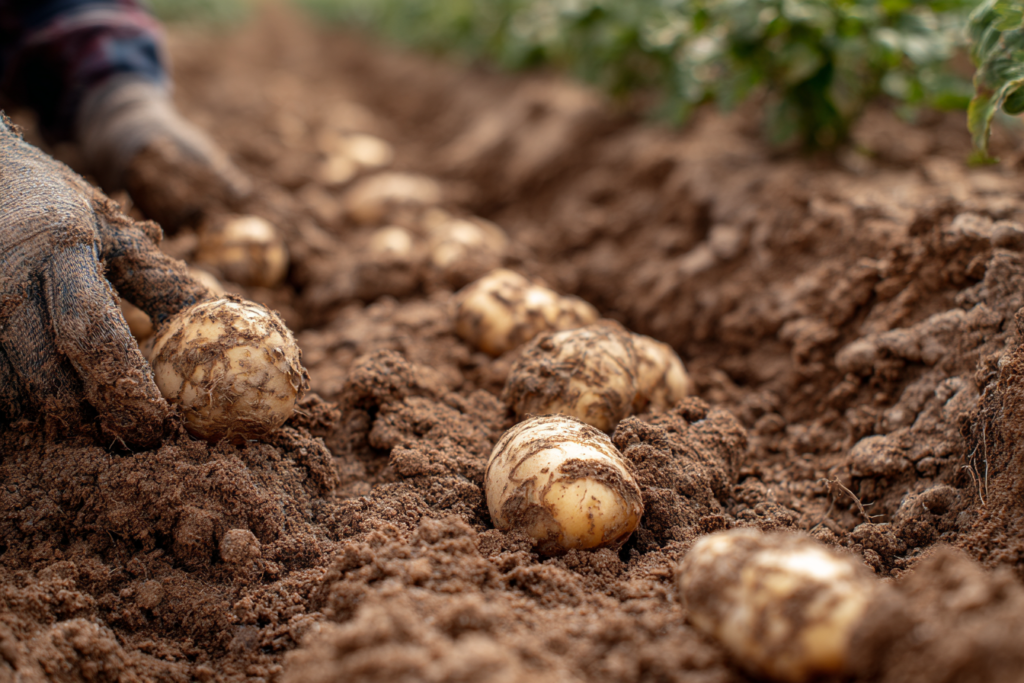
To harvest full-size spuds, wait until the vines turn yellow and die back a few weeks after blooming. Potatoes tolerate a light frost, but be sure to dig them all up before the first heavy frost.
Whenever you dig up your potatoes, you want to take care to avoid damaging them in the process. The safest way is to work with your hands and maybe a small trowel to clear the soil around them. Traditionally, farmers and gardeners with larger plots have used potato forks to go deep in the soil underneath the spuds and lift them out. If you’re digging with a fork or garden shovel, work cautiously so you don’t nick the potatoes with the tools. Eat any potatoes that are accidentally nicked right away because they won’t keep long.
Harvesting potatoes from a container couldn’t be easier. Just tip it over and sift through the soil for your buried treasure! You can reuse the soil mix in other containers, but don’t plant potatoes in it again.
Ready to Grow
Now that you know the best way to grow potatoes, you’re ready to start your 2026 garden.
Now you know the key steps to raising your own potatoes. Start with disease-free potatoes, plant them in a trench with loose, well-drained soil and cover them as the sprouts grow.
Author: Clara