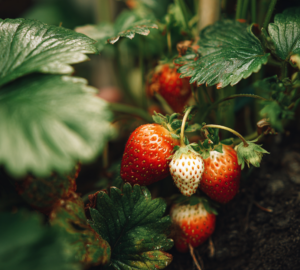
If you’ve ever wondered how to grow garlic for that fresh, pungent taste, you’ll be surprised at how easy it is.
You’ll love growing your own garlic if you like the powerful smell of fresh garlic in spaghetti, over toast, or with grilled vegetables. If you plant garlic bulbs in the fall, you’ll get a summer harvest of bigger, healthier bulbs with flavors that are much more complex than what you can buy at the store. They might be sweet and mild or hot and spicy. You may cultivate this popular plant in your own yard if you have nice garlic sets, well-prepared soil (read our 5 Proven Ways to Improve Garden Soil Without Chemicals for the Best Harvest.), and some patience.
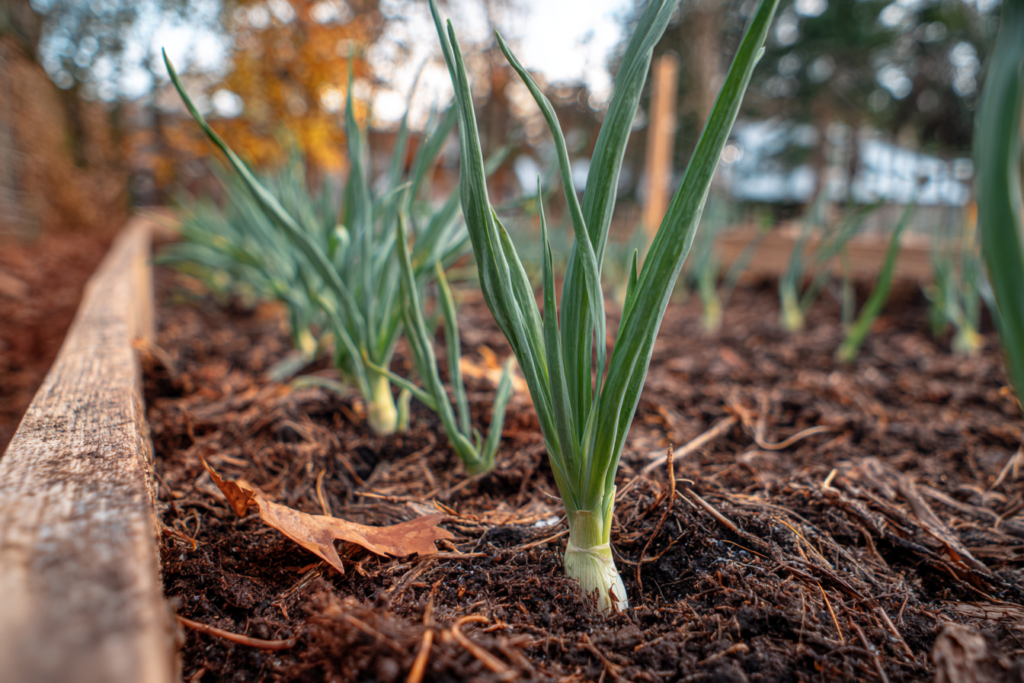
How to Grow Garlic
When researching how to grow garlic, the first thing you’ll notice is the difference between store-bought and nursery-grade sets. Always choose nursery sets for the best results.
Garlic Sets: You can technically plant garlic from the store, but most of it has been treated with preservatives to make it live longer, which makes it tougher to grow. Instead, go to a trusted seed or nursery store to buy garlic sets. There are types from all over the world, such California, Russia, Italy, and Transylvania.
The Right Type for Your Weather: There are two primary kinds of garlic: hardneck and softneck. It’s vital to pick the right one for your area. You can check your USDA Plant Hardiness Zone to see which category your garden falls into.
Most of the time, hardneck kinds have a more complex and forthright taste. They need cold winters, thus they do best in gardens in the north (zones 3–7). In the spring, hardnecks also grow garlic scapes, which are another tasty treat. They sprout hard stalks after being plucked. If you live in the North, you might want to choose “Georgia Crystal,” which has a rich, buttery flavor, “Ajo Rojo,” which is a reddish garlic that lasts a long time, or “Purple Glazer,” which is known for baking beautifully.
Softneck kinds are usually milder and are selected a little bit earlier. They do best in the southern sections of the country (zones 8–11), where the winters are milder. You can braid the softneck stalks together after you pick them. This lets them heal and makes them appear great. “Silver Rose,” which has a mellow, traditional flavor; “Italian Loiacono,” which is an heirloom variety; and “Early Italian,” which is a bestseller for people who want to harvest rapidly, are some of the most popular southern kinds.
Sunlight and Soil: Garlic needs soil that drains well and at least six to eight hours of sunlight each day to thrive successfully. Put some compost in your soil and mix it in until it is well-cultivated. This will help roots spread out more easily. Add more compost to your soil if it still seems heavy or thick. This will help it drain better. This is vital because if the soil is excessively wet, it could grow mold or rot, which could harm your crop.
You’ll also need mulch (leaves or straw work well) and water for the first few weeks after planting and during the spring growing season.
When to Plant Garlic
Timing is the most critical factor in how to grow garlic. You must plant at least six weeks before the ground freezes to allow roots to establish.
You may cultivate most kinds of garlic from the end of September to the end of October. You can wait till November if you live in a warm part of the country. The most important thing is to plant garlic at least six weeks before the ground freezes. This time helps the cloves grow roots, sleep through the winter, and then wake up early in the spring. When it’s time to harvest, all of these things make the bulbs bigger and healthier.
Putting in the Ground and Caring for
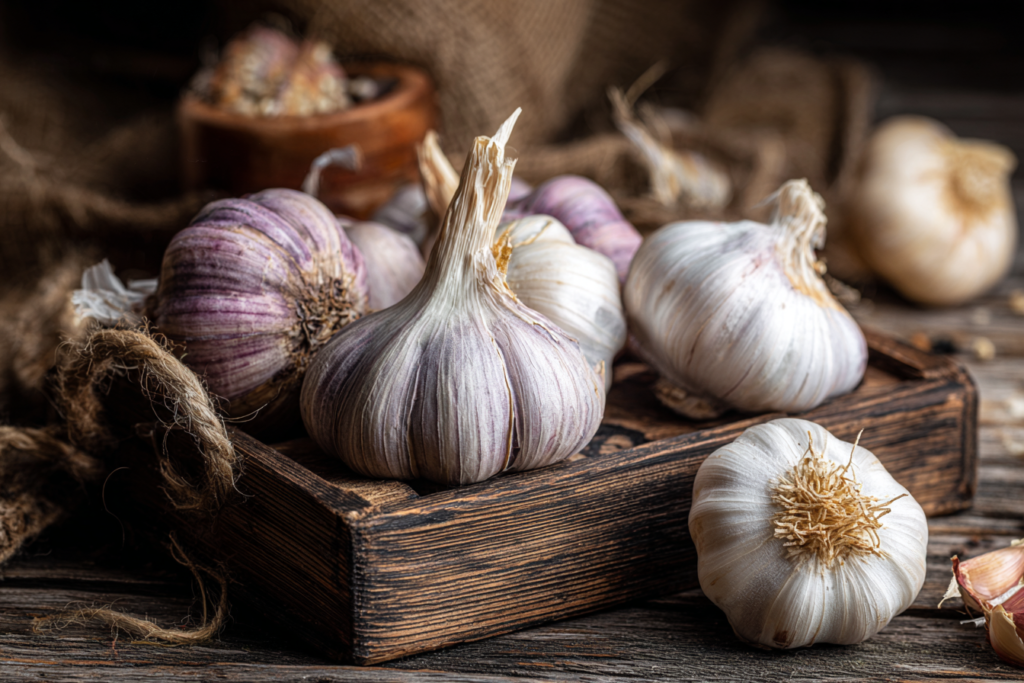
Preparing Your Cloves: A day or two before you plant them, pull the cloves off the garlic bulbs and let them dry out a bit. Don’t take off the thin skins on the cloves because these help keep them safe. Choose the biggest cloves since they will offer you the biggest bulbs.
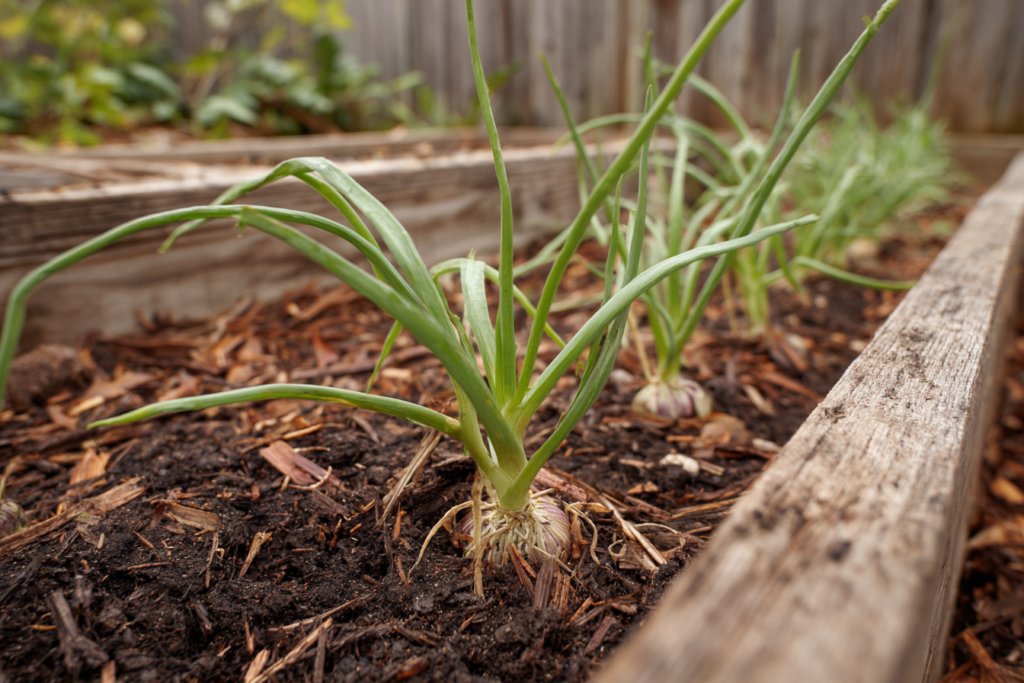
Putting Them in the Ground: Make holes for your cloves that are 4 to 6 inches apart and 2 inches deep. Put each clove with the sharp end facing up and the root side down. You should see that one end is a little flat. If you’re planting more than one row, make sure there is at least 10 inches between each one. Water your cloves about one inch per week for the first several weeks after you plant them to help them get adjusted to their new habitat.
Winter Protection: When the ground freezes, cover your garlic bed with mulch. A thick layer of leaves or straw keeps the cloves warm and helps them survive the winter in cold regions.
Spring and Summer Care: When spring comes, your garlic will need about an inch of water every week. Change how much you water if it rains so you don’t give too much. You don’t want the soil to get too wet.
A key secret to how to grow garlic with large bulbs is the removal of the scapes. This forces the plant to send energy downward rather than into a flower.
In the middle of June, a flower stem called a garlic scape will start to grow from the hardneck kind. These scapes will start to flex as they get bigger. Cut them off so the plant may put all of its energy into making the bulb grow instead of generating a flower. Don’t toss those scapes away. You may chop them up and add them to salads, eggs, and potatoes, or you can mix them with hard cheese to make a spicy pesto for bread, pasta, or pizza dough.
How to Know When Your Garlic Is Done
You can do a simple test on your garlic about a week before you plan to pick it (see the instructions that came with your individual type). Remove some dirt from the top of a bulb and feel for the cloves. If you can feel individual cloves under the wrapping, your garlic is ready to be picked. If you can’t feel the individual cloves yet, leave it in the ground for a little longer. Another sign that harvest time is near is that the leaves will start to turn brown and wilt.
The final stage of how to grow garlic is the curing process, which ensures your bulbs last all winter.
How to Pick and Store Your Garlic
Digging Up Your Bulbs: When your garlic is ready, carefully pull the bulbs out of the ground. Be careful not to injure or bruise them, because this can make them less useful for storing.
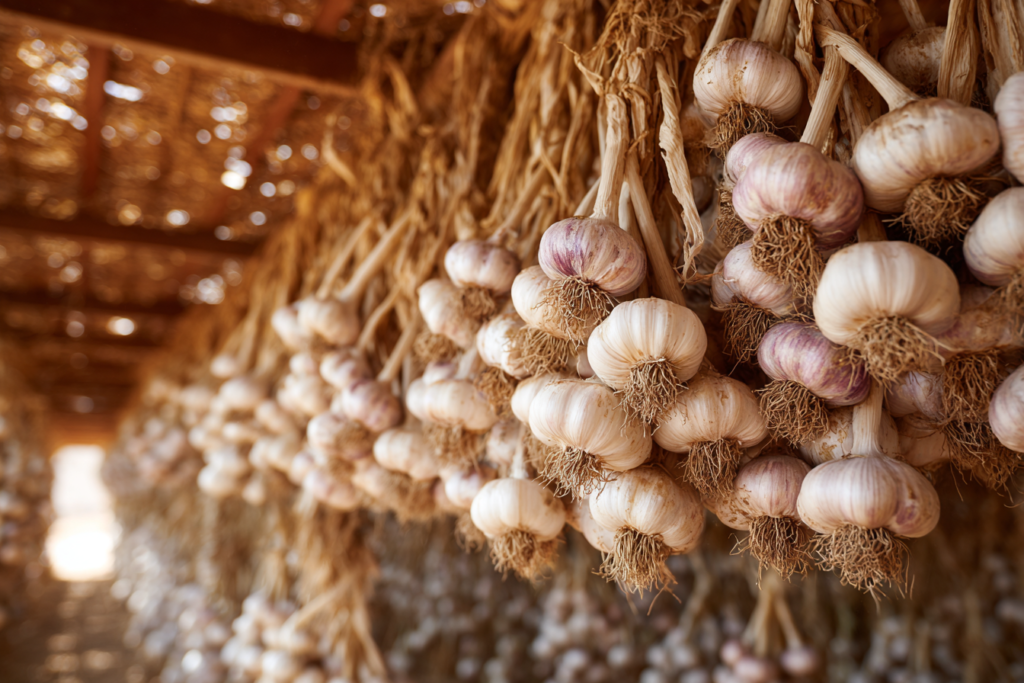
Curing for Long-Term Storage: To keep your garlic bulbs in good shape and ready to use for a few months, merely knock or brush off any dirt that is loose. Don’t clean them. Let the bulbs you just plucked dry out and cure in the air for two weeks. You can hang them up or spread them out on a wire basket, screen, or chicken wire to make sure air can flow freely. Cut the stalks down to 1 inch or less and the roots on the bottom down to about a quarter inch once they have dried.
How to Store Your Harvest: If you keep your cured garlic bulbs in a cool, dry place, they should last for more than 10 months. Don’t go into the basement or refrigerator, as they may be too damp. You may braid the strands together to make nice decorations for your kitchen. This works if you grew the softneck kind.
Saving for Next Season: Keep your biggest, healthiest bulbs so you can plant them again in the fall. You can also test out several kinds of garlic during the current growing season and add them to your collection.
Ways to Use Your Garlic Scapes
Now is the time to enjoy the garlic scapes you harvested earlier in the season. These curled stalks taste like garlic, but not as pungent. They taste fantastic in a lot of different dishes. For a light garlic flavor, you can cut them up and mix them into scrambled eggs, potato dishes, or salads. To produce a vibrant pesto, mix scapes with parmesan or another hard cheese, olive oil, and the juice of a lemon. You may spread it over fresh bread, mix it into hot spaghetti, or use it as a base for homemade pizza. The flavor is strong and good, and you’ll be glad you didn’t toss away those scapes.
Now you know how to grow garlic in the fall and pick it in the summer. You may grow wonderful garlic in your own garden for months if you choose the right sort for your climate and give your cloves good soil and adequate room.
Now that you’ve mastered the basics of how to grow garlic, you can look forward to a kitchen filled with aromatic, home-grown flavor every single year.
Author: Clara